I’ve always loved the idea of baking with a bit of history—something that feels rooted and personal. These brownies, inspired by old family recipes, carry a whisper of childhood chaos and comfort. They’re not perfect, but that’s part of the charm. Baking them feels like a small act of preserving memories, one spoonful at a time.
Why I Keep Coming Back to These Brownies
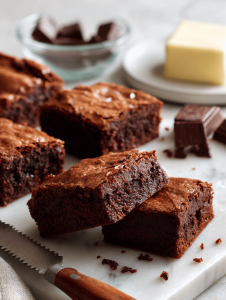
They remind me of lazy weekends, chaos in the kitchen, and the smell of melting chocolate. Each batch feels like a small victory—imperfect but always satisfying. There’s something about the gooey center and the slightly crisp edges that keeps me chasing that perfect bite. It’s a simple comfort, rooted in memories and made new every time.
Breaking Down the Ingredients
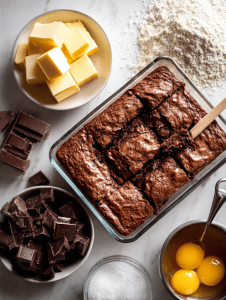
- Dark chocolate: Rich, slightly bitter, with a deep cocoa aroma that intensifies as it melts.
- Unsalted butter: Adds moisture and richness; swap with coconut oil for a dairy-free version.
- Eggs: Bind the batter; try flax eggs for a vegan tweak.
- Sugar: Sweetens and creates that fudgy texture; coconut sugar gives a caramel note.
- Flour: Provides structure; for a gluten-free version, use almond or oat flour.
- Vanilla extract: Enhances chocolate flavor with a fragrant warmth.
- Salt: A pinch balances sweetness and heightens flavors.
Tools & Equipment for Mummy Brownies
- 20cm square baking pan: The perfect size for even baking and easy slicing.
- Double boiler: Gentle melting of chocolate and butter to prevent burning.
- Whisk: To aerate eggs and sugar, creating a lighter batter.
- Spatula: For folding ingredients and smoothing the batter.
- Wire rack: Cooling brownies evenly and preventing sogginess.
The Journey of Preparing Mummy Brownies
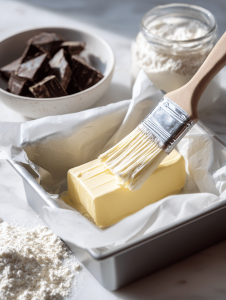
Step 1: Preheat your oven to 180°C (350°F). Grease a 20cm square baking pan and line it with parchment paper.
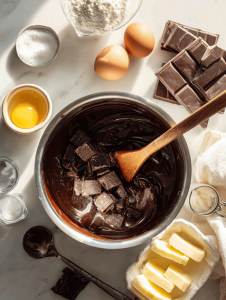
Step 2: Melt 200g of dark chocolate and 150g of unsalted butter together in a double boiler until smooth, then set aside to cool slightly.
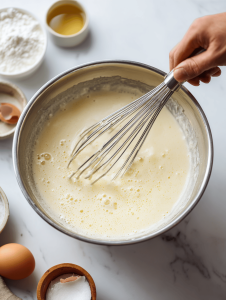
Step 3: In a large bowl, whisk together 2 eggs, 150g sugar, and a teaspoon of vanilla extract until pale and fluffy.
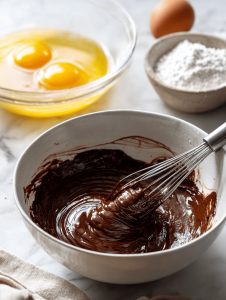
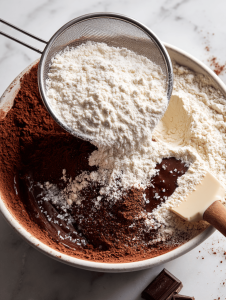
Step 4: Fold the cooled chocolate mixture into the egg mixture, then gently mix in 100g of all-purpose flour and a pinch of salt.
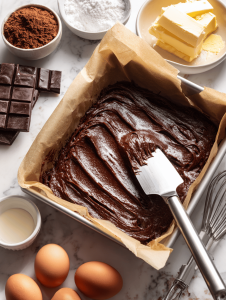
Step 5: Pour the batter into your prepared pan, smoothing the top with a spatula. Bake for 20-25 minutes until a toothpick inserted in the center comes out with moist crumbs.
Step 6: Let the brownies cool in the pan for 10 minutes, then transfer to a wire rack to cool completely before slicing.
Cooking Checkpoints & Tips to Keep in Mind
- Ensure the chocolate is fully melted and smooth before mixing. It prevents lumps and ensures even flavor.
- Do not overbake; brownies are best slightly undercooked for that fudgy center.
- Use high-quality chocolate; it makes a noticeable difference in flavor and texture.
- Allow the brownies to cool before slicing; this helps them set and prevents crumbling.
Common Mistakes & How to Fix Them
- Overbaking leads to dry brownies.? Add a few extra minutes if brownies are not set, but avoid overbaking.
- Overly dry or crumbly brownies.? Use a toothpick to check doneness—moist crumbs mean perfection.
- Chocolate seizing or becoming grainy.? Ensure chocolate is not too hot when mixing to keep batter glossy.
- Cracked or uneven crust.? If brownies crack on top, lower oven temperature slightly and bake a bit longer.
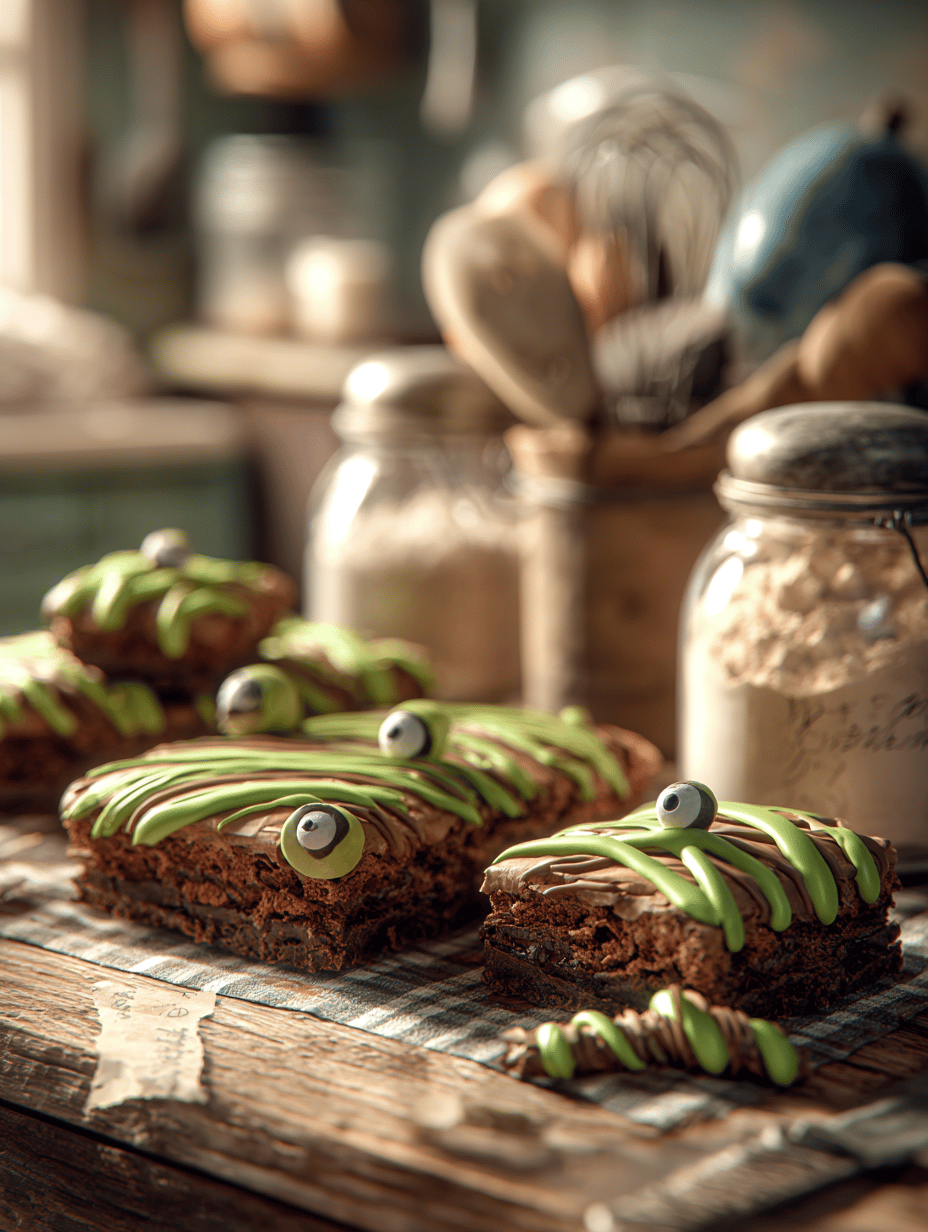
Old Family-Inspired Brownies
Ingredients
Equipment
Method
- Preheat your oven to 180°C (350°F). Grease your 20cm square baking pan and line it with parchment paper for easy removal.
- Chop the dark chocolate into small pieces and place it along with the butter into a double boiler. Gently melt, stirring occasionally until smooth and fragrant, then remove from heat and let cool slightly.
- In a large bowl, whisk together eggs, sugar, and vanilla extract until the mixture becomes pale, fluffy, and slightly thickened, about 2-3 minutes. You’ll notice it’s light in color and has a gentle sheen.
- Pour the slightly cooled melted chocolate mixture into the egg mixture. Gently fold together with a spatula until well combined and glossy.
- Sift in the flour and add a pinch of salt to the batter. Carefully fold until just combined, making sure no dry streaks remain and the batter is smooth but not overmixed.
- Pour the batter into your prepared pan, spreading it evenly with a spatula. Tap the pan gently on the counter to release any air bubbles and level the surface.
- Bake in the oven for 20-25 minutes. The edges should be set and slightly pull away from the sides, while the center remains moist and gooey. Insert a toothpick—moist crumbs are perfect.
- Remove the pan from the oven and let the brownies cool in the pan for about 10 minutes. Then transfer to a wire rack and cool completely before slicing to prevent crumbling.
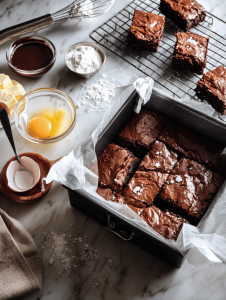
- Slice into squares and serve once cooled. Enjoy the rich, fudgy texture with its deep cocoa aroma and slightly crisp edges, perfect for nostalgic moments.

Hi, I’m Harper Evans. Welcome to Crushing These Flavors, my home on the internet where curiosity, comfort, and a deep love for food come together. I’m a passionate food blogger who believes great meals are built through attention, practice, and a willingness to experiment.