Category: Desserts

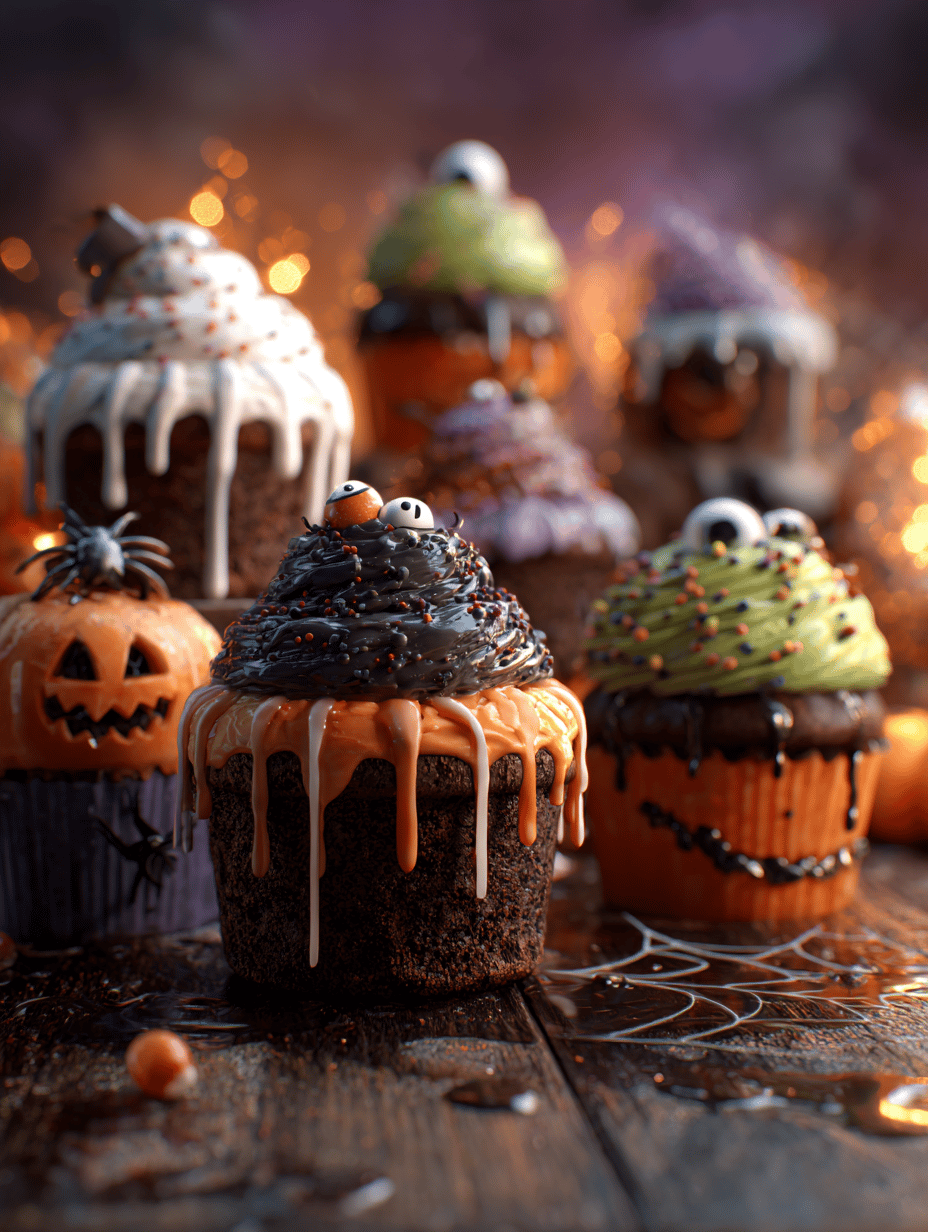
  • Hauntingly Delicious Halloween Monster Eyeball Cake Pops

    Hauntingly Delicious Halloween Monster Eyeball Cake Pops

    Halloween is the perfect time to embrace playful scares that taste as good as they look. This year, I decided to create a spooky treat that’s as much a conversation starter as it is a sweet bite — Monster Eyeball Cake Pops.

    The secret? A gooey, vibrant center that mimics the unsettling look of eyeballs, complete with eerie red veins and glossy, bloodshot detail. They’re surprisingly easy to make, turning simple cake and frosting into creepy, adorable mini monsters that everyone will want to gobble up.

    Transforming a basic cake pop into a monster’s eye required a dash of creativity and a splash of chaos, but each bite delivers a satisfying crunch with a hint of fruity surprise inside. These treats are perfect for Halloween parties, especially if you want your dessert table to be as memorable as your costume.

    Monster Eyeball Cake Pops

    Monster Eyeball Cake Pops are bite-sized treats made by transforming cake and frosting into spherical pops that resemble creepy eyeballs. Each cake ball is coated in glossy white chocolate, decorated with red veins and bloodshot details for a spooky, realistic appearance. The final treat has a crunchy outer layer with a colorful, gooey center, creating a playful and eerie dessert perfect for Halloween celebrations.
    Prep Time 30 minutes
    Cook Time 10 minutes
    Total Time 40 minutes
    Servings: 20
    Course: Main Course
    Cuisine: Halloween
    Calories: 130

    Ingredients
      

    • 1 box Prepared cake (store-bought or homemade) crumbled into fine pieces
    • 1/2 cup Frosting to bind the cake crumbs
    • 12 Lollipop sticks for inserting into cake balls
    • 1 bag White chocolate melts or white chocolate chips, melted
    • 1 small Red food coloring for veins and bloodshot effect
    • 1 small Black gel food coloring for pupils and veins
    • optional Edible red glitter or shimmer for extra spooky look

    Equipment

    • Mixing bowls
    • Lollipop sticks
    • Microwave or double boiler
    • Baking sheet
    • Parchment paper
    • Spoon or piping bag
    • Small brush

    Method
     

    1. Crumb the prepared cake into fine pieces in a mixing bowl until uniform.
    2. Add frosting to the cake crumbs and gently fold together until the mixture is moist and can be shaped easily.
    3. Scoop out portions of the mixture and roll them between your palms to create smooth, round spheres about 1.5 inches in diameter.
    4. Insert a lollipop stick into each cake ball, about halfway through, pressing gently to secure.
    5. Place the cake pops on a parchment-lined baking sheet and chill in the freezer for about 15 minutes to firm up.
    6. Meanwhile, melt the white chocolate in a microwave or double boiler until smooth and glossy, about 2-3 minutes.
    7. Dip each chilled cake pop into the melted white chocolate, swirling gently to coat evenly, then hold upright to let excess drip off.
    8. Place the coated cake pops back on the parchment to set. You can refrigerate them for faster setting if desired.
    9. Using a small brush or a piping bag, add red food coloring to create bloodshot veins and blood around the edges for a creepy effect.
    10. Use black gel color to carefully add a small dot for the pupil in the center of each white surface, creating a realistic eyeball look.
    11. Optional: Brush on edible red glitter or shimmer for a more eerie, blood-like sheen, then let everything set completely.
    12. Once decorated and fully set, serve these spooky Monster Eyeball Cake Pops on a platter for your Halloween party or dessert table.
    These Monster Eyeball Cake Pops add just the right amount of fun and fright to your Halloween gathering. Their playful spookiness coupled with inviting flavors makes them a hit among kids and adults alike.

    More than just a sweet treat, they turn ordinary ingredients into a spectacle of creativity and chaos. As you make these, enjoy the festive chaos and the delight of watching everyone bite into your creepy yet delicious creation.

  • Peach Crisp: A Nostalgic Twist on Summer’s Favorite Fruit

    Peach Crisp: A Nostalgic Twist on Summer’s Favorite Fruit

    There’s something magically comforting about a warm peach crisp that sparks childhood memories and summer evenings alike. The aroma of baked peaches mingled with cinnamon and buttery oats can turn any day around. Today, I’m sharing a version that elevates this classic with an unexpected hint of cardamom, making it feel both nostalgic and fresh.

    Imagine biting into tender, caramelized peaches that burst with sweetness, topped with a crunchy, spiced oat topping that crackles softly in the oven. It’s a dessert that’s perfect for casual family dinners or surprising guests with minimal fuss. The best part? It practically makes itself once the fruit is prepped.

    Peach Crisp with Cardamom

    This peach crisp features tender, caramelized peaches topped with a crunchy, spiced oat mixture. The dish combines fresh peaches baked with cinnamon and cardamom, resulting in a warm, golden-brown dessert with a crispy topping and juicy fruit interior.
    Prep Time 15 minutes
    Cook Time 35 minutes
    Total Time 50 minutes
    Servings: 6
    Course: Main Course
    Cuisine: American
    Calories: 280

    Ingredients
      

    • 4 cups peach slices about 4-5 ripe peaches, peeled and sliced
    • 1/4 cup granulated sugar
    • 1 teaspoon ground cinnamon
    • 1/4 teaspoon ground cardamom for a warm, aromatic flavor
    • 1 tablespoon lemon juice
    • 1 cup old-fashioned oats
    • 1/2 cup all-purpose flour
    • 1/2 cup light brown sugar
    • 1/2 cup unsalted butter cold and cut into small pieces
    • 1/4 teaspoon salt

    Equipment

    • 9×13 inch baking dish
    • Mixing bowls
    • Measuring cups and spoons
    • Oven

    Method
     

    1. Preheat your oven to 375°F (190°C). In a large mixing bowl, toss the sliced peaches with sugar, cinnamon, cardamom, and lemon juice until well coated. Transfer the mixture to a greased baking dish, spreading it out evenly.
    2. In a separate bowl, combine oats, flour, brown sugar, and salt. Mix until uniform. Add the cold, cubed butter to the dry ingredients.
    3. Use your fingers or a pastry cutter to rub the butter into the dry ingredients until the mixture resembles coarse crumbs. This creates a flaky, crunchy topping.
    4. Sprinkle the oat topping evenly over the peaches in the baking dish, covering the fruit completely.
    5. Bake in the preheated oven until the topping is golden brown and the peach filling is bubbling, about 35 minutes. The kitchen will fill with a warm, spicy aroma as it bakes.
    6. Allow the peach crisp to cool slightly before serving. Spoon into bowls and enjoy the warm, juicy fruit topped with crunchy, spiced oats.
    Whether you’re celebrating the height of summer or craving a cozy end to a cooler evening, this peach crisp holds its charm. Its simplicity makes it a reliable crowd-pleaser, and the subtle spice adds a delightful complexity worth dreaming about. Share it hot with a scoop of vanilla, and you’ll see eager smiles light up the table, old friends to new.

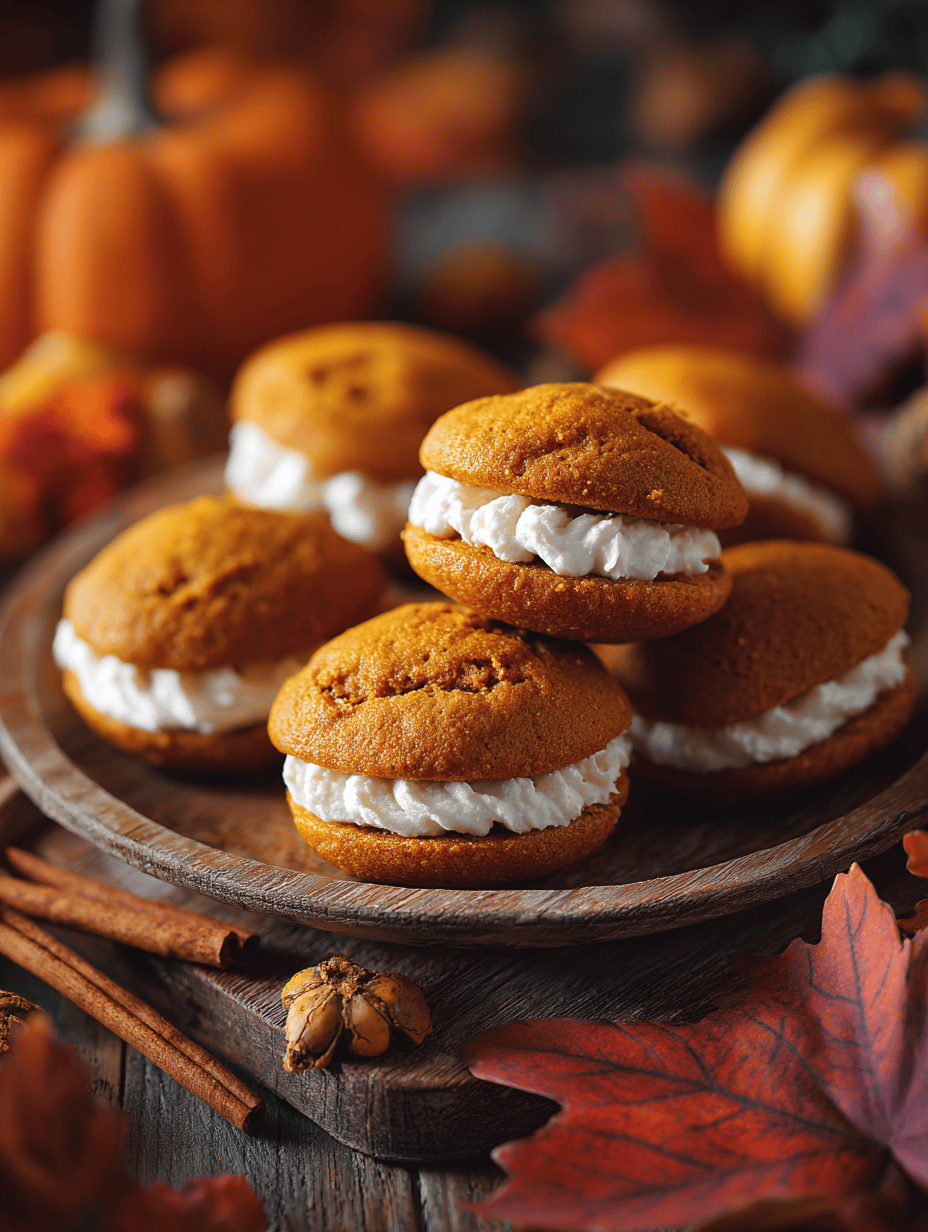
  • Pumpkin Muffins with a Secret Spiced Twist

    Pumpkin Muffins with a Secret Spiced Twist

    As autumn leaves start to carpet the streets, I find myself craving a muffin that captures the season’s cozy charm. But not just any pumpkin muffin—one that hides a dash of unexpected spice at its core. This recipe transforms a simple bake into a sensory adventure, with warm cinnamon and a hint of smoky paprika blending beneath sweet pumpkin aroma.

    What makes these muffins special is their ability to surprise at every bite. The tender crumb, infused with rustic pumpkin and a whisper of ginger, makes my kitchen smell like a festive patch. They’re perfect for carving out a moment of calm amidst the busy fall days, whether for breakfast or a midday pick-me-up.

    Spiced Pumpkin Muffins

    These pumpkin muffins feature a tender crumb infused with warm cinnamon, ginger, and a hint of smoky paprika, creating a cozy autumn flavor. The batter is mixed and then baked until golden with a slightly domed top, resulting in moist, moist-textured muffins with a rustic appearance that hides a flavorful spice blend inside.
    Prep Time 15 minutes
    Cook Time 20 minutes
    Total Time 35 minutes
    Servings: 12
    Course: Main Course
    Cuisine: American
    Calories: 220

    Ingredients
      

    • 1 1/2 cups all-purpose flour
    • 1 cup granulated sugar
    • 1/2 teaspoon baking soda
    • 1/2 teaspoon salt
    • 1 teaspoon ground cinnamon
    • 1/2 teaspoon ground ginger
    • 1/4 teaspoon smoked paprika
    • 1 cup canned pumpkin puree
    • 1/2 cup vegetable oil
    • 2 large eggs

    Equipment

    • Mixing bowls
    • Whisk
    • Muffin tin
    • Paper liners or grease

    Method
     

    1. Preheat your oven to 375°F (190°C) and line a muffin tin with paper liners or lightly grease the cups.
    2. In a large mixing bowl, whisk together the flour, sugar, baking soda, salt, cinnamon, ginger, and smoked paprika until well combined. This creates a flavorful dry base for your muffins.
    3. Add the canned pumpkin, vegetable oil, and eggs to the dry ingredients. Whisk everything together until the batter is smooth and uniform, with no streaks of flour remaining.
    4. Using a spoon or ice cream scoop, evenly divide the batter among the muffin cups, filling each about three-quarters full. The batter will be thick but scoopable.
    5. Place the muffin tin in the oven and bake for about 20 minutes, or until the muffins are golden brown on top and a toothpick inserted into the center comes out clean.
    6. Remove the muffins from the oven and let them cool in the tin for 5 minutes before transferring to a wire rack to cool completely. The aroma of spices will fill your kitchen.

    These pumpkin muffins aren’t just about comfort; they carry a playful twist that makes each bite magical. The combination of spices and soft pumpkin texture creates something truly unique, especially when shared with friends or family during cozy gatherings.

    As we head into colder months, baking these muffins feels like wrapping yourself in a warm blanket. The simple joy of pulling golden muffins from the oven, their spicy scent filling the air, reminds me why baking remains always worth it—especially with a recipe that surprises and delights at once.

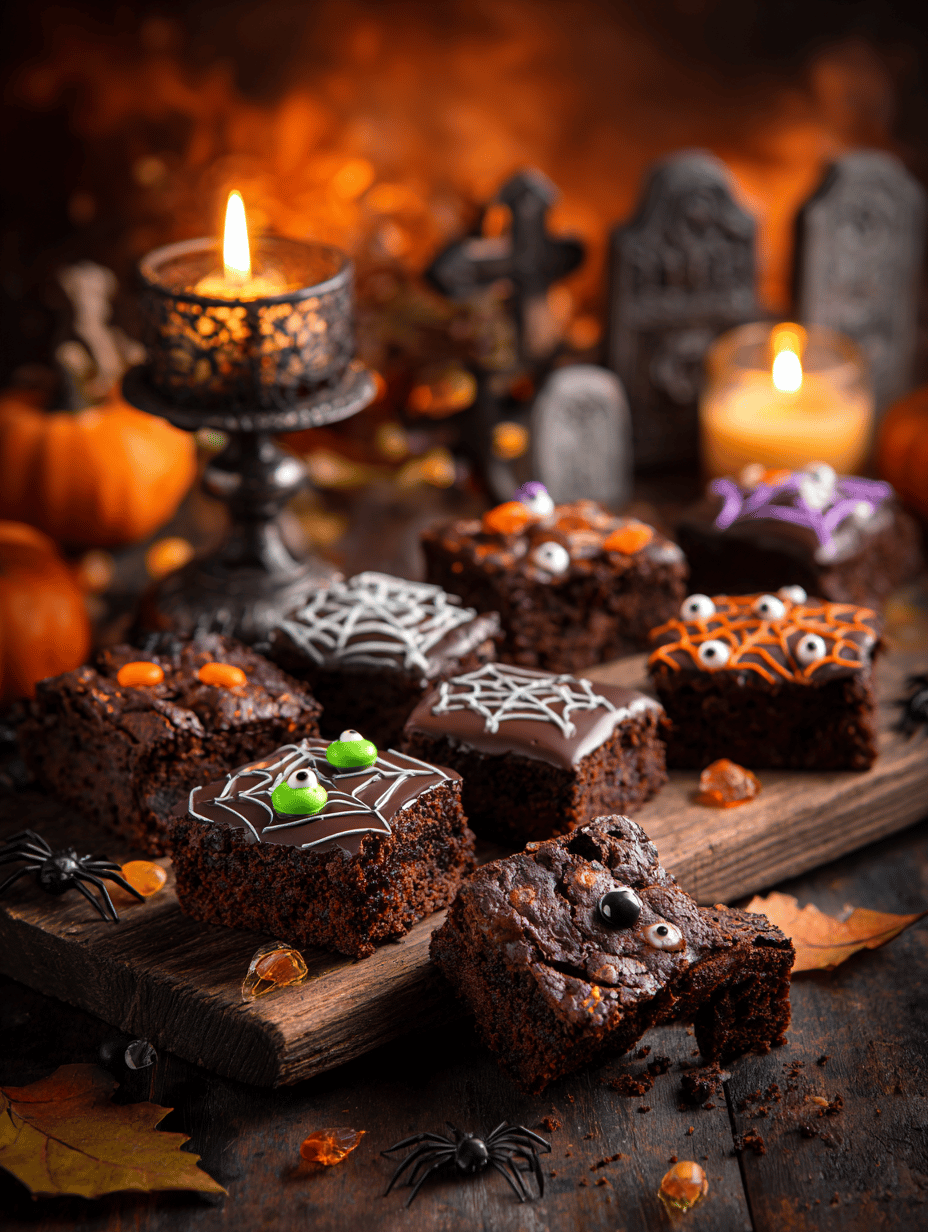
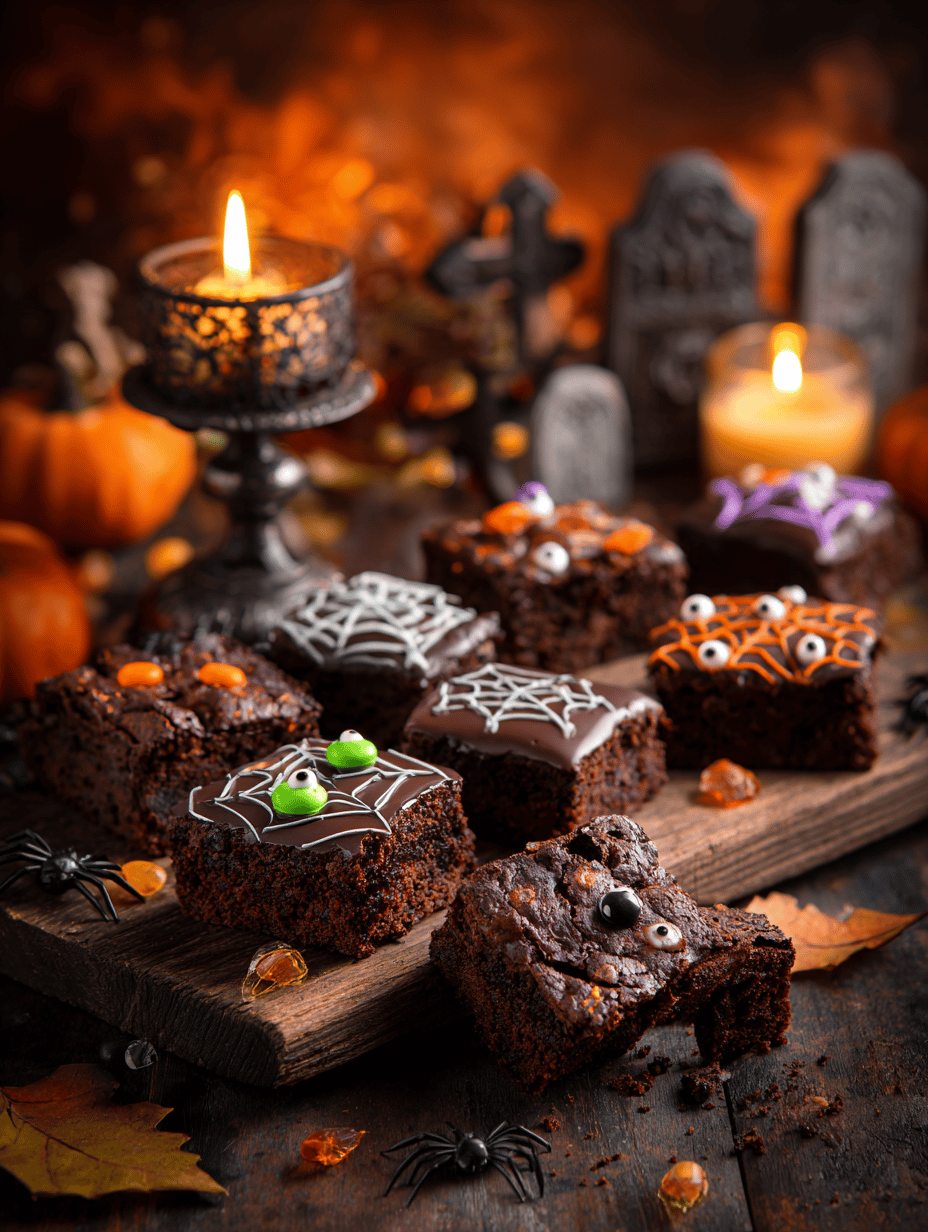
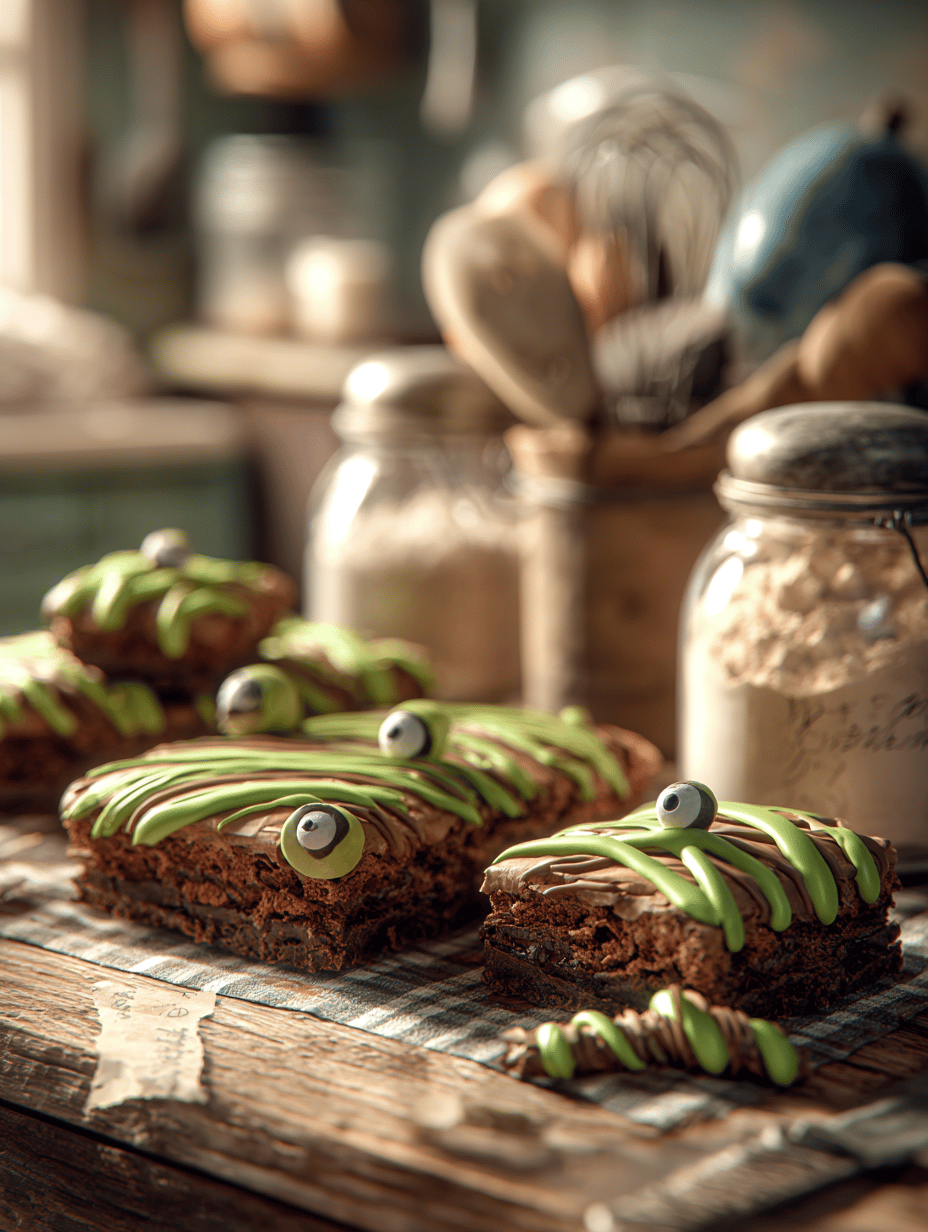
  • Spooky Sweetness: Halloween Ghost Brownies That Haunt Your Heart

    Spooky Sweetness: Halloween Ghost Brownies That Haunt Your Heart

    Every October, I crave that nostalgic aroma of chocolate mingling with the scent of crispy edges and melting frosting. But this year, I decided to shake things up by making Halloween Ghost Brownies—an eerie yet adorable treat that combines dark, fudgy goodness with playful ghost figures. These bites pack a punch of creativity and flavor, perfect for holiday gatherings or a mischievous movie night.

    What makes this recipe stand out is the unexpected contrast of spooky and sweet. The ghost decorations are simple yet striking, giving your dessert table an instant Halloween upgrade. Plus, the process of creating these little specters is just chaotic enough to be fun, even if you end up covered in cocoa powder.

    Halloween Ghost Brownies

    These brownies are rich, fudgy treats baked until moist and dense, topped with ghost-shaped decorations made from frosting or melted marshmallows. The final appearance features dark, glossy brownie bases adorned with white ghost figures that have playful, melted edges, perfect for Halloween festivities.
    Prep Time 20 minutes
    Cook Time 25 minutes
    Total Time 45 minutes
    Servings: 12
    Course: Main Course
    Cuisine: American
    Calories: 220

    Ingredients
      

    • 1/2 cup unsalted butter melted
    • 1 cup granulated sugar
    • 2 large eggs
    • 1 teaspoon vanilla extract
    • 3/4 cup unsweetened cocoa powder dutch-process preferred
    • 1/2 cup all-purpose flour
    • 1/4 teaspoon baking powder
    • 1/4 teaspoon salt
    • 1 cup white frosting frosting or melted marshmallows for ghost decorations
    • 1 cup chocolate chips or chopped dark chocolate chocolate chips

    Equipment

    • Mixing bowls
    • Whisk
    • Baking pan
    • Parchment paper
    • Cooling rack
    • Piping bag or plastic zip-top bag

    Method
     

    1. Preheat your oven to 350°F (175°C) and line a baking pan with parchment paper for easy removal.
    2. In a large mixing bowl, whisk together the melted butter and sugar until well combined and slightly shiny.
    3. Add the eggs one at a time, whisking thoroughly after each addition to incorporate air and create a smooth, glossy batter.
    4. Stir in the vanilla extract, then sift in the cocoa powder, flour, baking powder, and salt. Fold gently until the mixture is uniform and free of streaks.
    5. Pour the batter into the prepared baking pan, spreading evenly with a spatula to smooth the surface.
    6. Bake in the preheated oven for 20-25 minutes, until a toothpick inserted in the center comes out with moist crumbs and the top is set.
    7. Remove the pan from the oven, let it cool in the pan for 15 minutes, then transfer to a wire rack to cool completely.
    8. Once cooled, cut the brownies into squares or rectangles, creating a flat surface for decorating.
    9. Fill a piping bag or a plastic zip-top bag fitted with a small round tip with white frosting or melted marshmallows.
    10. Squeeze out the frosting onto each brownie as a dollop for the ghost’s body, creating a rounded head and body with slight uneven edges for a spooky effect.
    11. Use a small spoon or the back of a knife to slightly smear or melt the edges of the frosting, giving the ghosts a wispy, haunted appearance.
    12. Optionally, sprinkle a few chocolate chips onto the frosting as eyes or allow some to melt slightly for expressive ghost faces.
    13. Place the decorated brownies on a serving platter and enjoy this fun, spooky treat with a glass of milk or hot cocoa.

    These ghostly brownies are more than just a treat—they’re a story in every bite. The rich chocolate paired with the playful ghost shapes makes them irresistible for kids and adults alike. Plus, they add a touch of whimsy to any Halloween fête or cozy night in.

    Whenever I bake these, I’m reminded that a little chaos in the kitchen can lead to the most charming results. They’re quick to assemble, forgiving of mistakes, and guaranteed to spark smiles. As the air turns crisp and the pumpkins start to glow, these creepy, cute brownies evoke the spirit of the season perfectly.

  • Beware the Sweet Spell: Halloween Poison Toffee Apples

    Beware the Sweet Spell: Halloween Poison Toffee Apples

    Every October, I get enchanted by the eerie glow of Halloween decorations, but this year I wanted to try something darker—so I concocted a recipe that’s as visually striking as it is mischievous: Poison Toffee Apples. These aren’t your usual candied treats; they come with a wicked twist that surprises your taste buds while playing with classic fall nostalgia.

    The secret? An unsettling black toffee coating that shimmers like a mysterious potion. The smell alone—rich caramel mingled with a whisper of charcoal—draws everyone in. I love how playful yet sinister they look, perfect for a devilish gathering or a spooky midnight snack.

    WHY I LOVE THIS RECIPE?

    • Their vibrant, haunting appearance adds a dramatic touch to any Halloween spread.
    • The combination of sweet toffee and sharp apple creates a thrilling flavor punch.
    • It’s an exciting way to turn simple ingredients into creepy edible art.
    • The chaos of dipping and decorating fuels my holiday spirit.
    • The nostalgic scent of roasting apples and toffee triggers childhood memories of fall fairs.

    AVOID MY DISASTER (You’re Welcome)

    • FORGOT to oil the baking sheet—sticky toffee stuck like glue, wash with extra hot water next time.
    • DUMPED too much black food coloring—got a muddy mess, add less or mix thoroughly.
    • OVER-TORCHED the toffee—bitter flavor, burn smell, rescue with butter and quick stirring.
    • SKIPPED the apple prep—dull knives slip, sharpen for neat toffee coating strokes.

    QUICK FIXES THAT SAVE YOUR DAY

    • When toffee is too sticky, SPLASH in a little cold water—smooths right out.
    • Patch uneven coating by reheating briefly and swirling the apples again.
    • SHIELD your work surface with parchment for easy clean-up after messy dips.
    • When dipped apples are drippy, scoop and chill to firm up quickly.
    • When the toffee color is dull, add a tiny pinch of black food dye and stir in the pan—shimmer effect!

    Poison Toffee Apples

    Poison Toffee Apples are whole fresh apples coated in a glossy, black toffee layer that shimmers like a mysterious potion. The toffee coating becomes crisp as it cools, creating a dark, glossy exterior that encases the juicy, crisp apple inside, giving a blend of chewy and crunchy textures with a striking appearance.
    Prep Time 15 minutes
    Cook Time 20 minutes
    Total Time 35 minutes
    Servings: 4
    Course: Main Course
    Cuisine: Halloween
    Calories: 250

    Ingredients
      

    • 4 large fresh apples preferably tart variety like Granny Smith
    • 2 cups granulated sugar for the toffee
    • 1/2 cup light corn syrup helps prevent crystallization
    • 1/2 cup water to dissolve sugar
    • 4 drops black food coloring for the dark coating
    • 1 tablespoon unsalted butter to smooth the toffee

    Equipment

    • Large saucepan
    • Lollipop sticks or skewers
    • Baking sheet
    • Parchment paper
    • Wooden spoon

    Method
     

    1. Wash and thoroughly dry the apples, then insert a lollipop stick or skewer into the stem end of each apple, twisting gently to secure.
    2. Line a baking sheet with parchment paper and set it aside for the dipped apples.
    3. Combine sugar, corn syrup, water, and a few drops of black food coloring in a large saucepan over medium heat. Stir gently until the sugar dissolves completely and the mixture begins to bubble.
    4. Attach a candy thermometer to the pan and cook the mixture without stirring until it reaches 300°F (hard crack stage), about 10-15 minutes. The mixture will turn dark and shimmer, indicating it’s ready.
    5. Once the toffee reaches the desired temperature, remove the pan from heat and stir in one tablespoon of butter to smooth and slightly cool the mixture.
    6. Working quickly to prevent the toffee from hardening, dip each apple into the hot toffee mixture, swirling to coat evenly. Use the back of a spoon to help cover the apple if needed.
    7. Lift the apple out and gently tap to remove excess toffee, then place it on the prepared parchment-lined baking sheet.
    8. Repeat the dipping process with all apples, ensuring each is coated evenly and has a glossy, dark shimmer.
    9. Allow the toffee-coated apples to cool completely at room temperature until the coating is firm and crisp, about 15-20 minutes.
    10. Once cooled and hardened, transfer the apples to a serving platter and enjoy their sinister, glossy appearance.

    Notes

    To achieve the best shine, avoid stirring the toffee once it begins to boil. If the toffee becomes too dark or bitter, add a small amount of butter to mellow the flavor. For neat dipping, keep the toffee warm but not bubbling too aggressively.
    These Poison Toffee Apples are a perfect blend of playful horror and nostalgic comfort. They’re not just a treat but a conversation starter at any Halloween festivity, evoking that thrill of spooky surprises. I love how a simple apple can become a small piece of spooky art that’s as fun to make as it is to eat.

    As the season deepens, I find that these darkly beautiful candies remind us to embrace the chaos and joy of fall. They bring a touch of mischief to the crisp air and flickering candlelight. Sometimes, the best Halloween memories come from little moments of sweet, sinister delight like this.

  • Hauntingly Delicious: The Halloween Brain Jello Mold

    Hauntingly Delicious: The Halloween Brain Jello Mold

    Few things scream Halloween louder than a gooey, brain-shaped gelatin sitting on your party table. This recipe transforms classic Jello into a creepy, edible masterpiece that sparks both laughter and squeamishness. Plus, the process of creating the brain texture turns into a fun, chaotic kitchen experiment.

    Using vibrant, blood-red Jello and a clever mold, you can craft a centerpiece that looks straight out of a horror film but tastes sweet and refreshing. It’s an unexpected conversation starter at any spooky gathering, blending nostalgia with a splash of ghoulish creativity. Everyone’s eyes will widen when they see that squishy, brain-like form up close.

    So, gather your ingredients and prepare to impress your friends with this freaky, edible anatomy. It’s simple, striking, and perfect for elevating your Halloween spread. No one will forget the moment they see this creepy gelatin mockery of a brain.

    Halloween Brain-Shaped Gelatin

    This dish is a fortified gelatin molded into a brain-like shape, crafted using vibrant red Jello and a specialized mold to create a textured, squishy appearance. When set, the gelatin has a semi-soft, jiggly consistency that mimics an anatomical brain, making it both a spooky and playful centerpiece for Halloween parties.
    Prep Time 15 minutes
    Cook Time 20 minutes
    Total Time 35 minutes
    Servings: 8
    Course: Main Course
    Cuisine: Halloween
    Calories: 80

    Ingredients
      

    • 1 box red gelatin mix (e.g., strawberry or cherry flavored) or any preferred fruit-flavored gelatin
    • 2 cups boiling water
    • 1 cup cold water

    Equipment

    • Saucepan
    • Brain-shaped gelatin mold
    • Mixing bowl
    • Measuring Cups

    Method
     

    1. Boil some water and pour it into a mixing bowl containing the gelatin powder, stirring vigorously until fully dissolved and the mixture is smooth.
    2. Add cold water to the dissolved gelatin and mix well. This helps balance the temperature, ensuring the gelatin sets properly.
    3. Pour the gelatin mixture into your clean brain-shaped mold, filling it just over halfway to allow for expansion.
    4. Place the mold on a flat surface and carefully transfer it to the refrigerator. Chill for at least 4 hours or until the gelatin is fully set and wobbly.
    5. Once set, gently unmold the gelatin by loosening the edges with your fingers or a small spatula, then invert onto a serving plate and carefully lift off the mold.
    6. Display the gelatin brain on your Halloween spread, adding any edible decorations like fake veins or faux blood if desired for extra spookiness.

    Notes

    For a more realistic brain texture, consider gently scoring the surface with a fork before unmolding to create ridges and folds.

    This Halloween, the Brain Jello Mold offers a playful way to satisfy sweet cravings while adding a spooky twist. Its squishy texture and eerie appearance make it a memorable part of your seasonal spread. Plus, the aroma of citrus and fruity gelatin fills the room with festive cheer.

    Crafting this creepy dessert taps into the fun of edible Halloween decor, blending humor and horror seamlessly. It’s a simple recipe that sparks creativity, perfect for last-minute parties or themed gatherings. No matter how it turns out, it will definitely leave a lasting impression on your haunted table.

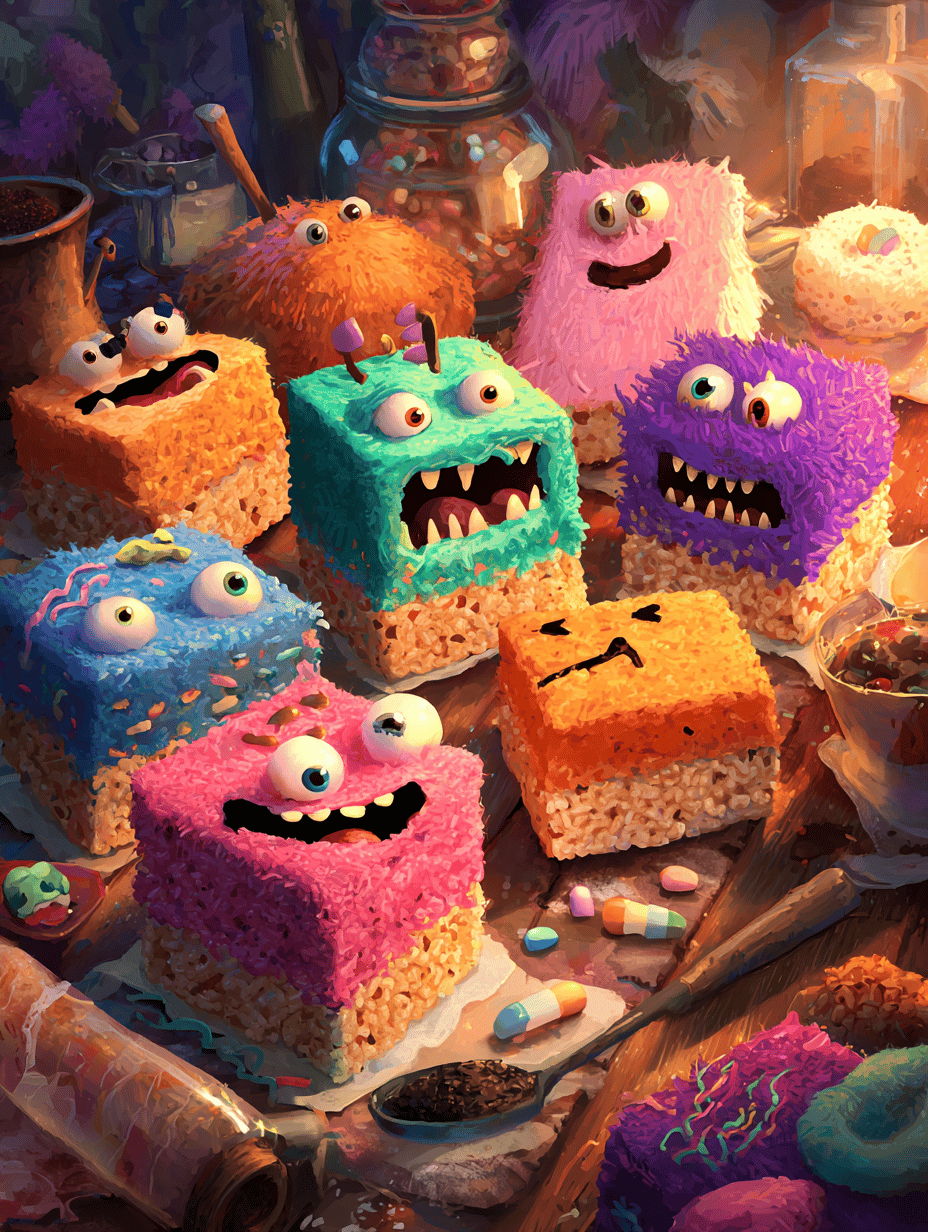
  • Spook-tacular Pumpkin Rice Krispie Treats: The Unusual Charm of Fall’s Edible Decorations

    Spook-tacular Pumpkin Rice Krispie Treats: The Unusual Charm of Fall’s Edible Decorations

    Halloween is the one time of year I allow my food to be a little wilder—literally. These pumpkin-shaped Rice Krispie Treats turn the kitchen into a playful workshop where marshmallow sweetness meets festive creativity. The best part? They’re surprisingly easy to make, but look like you’ve spent hours sculpting.

    I love how this recipe invites chaos and joy into my baking, with the bright orange marshmallow coating mimicking real pumpkins. Kids cheer when they see them, and adults can’t resist grabbing a handful. It’s a tiny, edible celebration of the fall season that sparks both nostalgia and excitement.

    Pumpkin-Shaped Rice Krispie Treats

    This recipe uses melted marshmallows and butter to create a sticky, pliable mixture of Rice Krispies cereal that is shaped into small pumpkin forms. Once set, the treats have a crispy, chewy texture with a bright orange coating for a festive Halloween appearance. They are easy to assemble and visually resemble small pumpkins, making them a fun seasonal dessert.
    Prep Time 15 minutes
    Cook Time 10 minutes
    Total Time 25 minutes
    Servings: 12
    Course: Main Course
    Cuisine: American
    Calories: 150

    Ingredients
      

    • 6 cups Rice Krispies cereal lightly packed
    • 4 cups mini marshmallows or regular marshmallows cut into smaller pieces
    • 3 tablespoons unsalted butter
    • Orange food coloring as needed orange food coloring to achieve pumpkin-like color
    • Optional chocolate chips or candy accents for decoration

    Equipment

    • Large pot
    • Rubber spatula
    • Assorted small silicone or cookie cutters shaped like pumpkins
    • Baking sheet or tray
    • Wax paper or parchment paper

    Method
     

    1. In a large pot, melt the butter over low heat while stirring until it’s fully melted and begins to smell fragrant.
    2. Add the mini marshmallows to the melted butter, stirring constantly until the marshmallows are completely melted and the mixture is smooth.
    3. Remove the mixture from heat and stir in a few drops of orange food coloring until you achieve a bright, pumpkin-orange hue.
    4. Pour the rice cereal into the marshmallow mixture and gently fold to coat all the cereal evenly, creating a sticky, cohesive mass.
    5. Allow the mixture to cool just enough to handle, then transfer it onto a sheet of wax paper or parchment paper.
    6. Grease your hands lightly with butter or cooking spray, and then shape portions of the mixture into small balls or ovals.
    7. Using pumpkin-shaped cookie cutters or small silicone molds, gently press the mixture into the shapes, smoothing out details for a pumpkin look.
    8. Place the shaped treats onto a clean baking sheet and let them set at room temperature for about 15–20 minutes until they firm up.
    9. If desired, add small chocolate chips or candy accents to create pumpkin stems or decorations for extra detail.
    10. Once fully set, carefully remove the pumpkin-shaped treats from molds or cutters and arrange them on a serving platter.
    11. Serve these cheerful, pumpkin-shaped Rice Krispie Treats immediately or store in an airtight container for later enjoyment.

    Notes

    You can customize the decorations with chocolate chips or candy for added variety. For a more natural pumpkin appearance, consider using small stems made from pretzels or caramel.
    In the end, these Halloween Pumpkin Rice Krispie Treats are more than just a fun project—they’re a cute, tasty way to elevate any spooky gathering. Their crispy texture and sweet aroma make them hard to resist, no matter the age.

    As the seasons change and pumpkins take center stage, these treats remind us that simple ingredients can become magical under the right touch. Plus, they’re guaranteed to bring a smile—whether as a centerpiece or a sweet snack in a busy Halloween night.

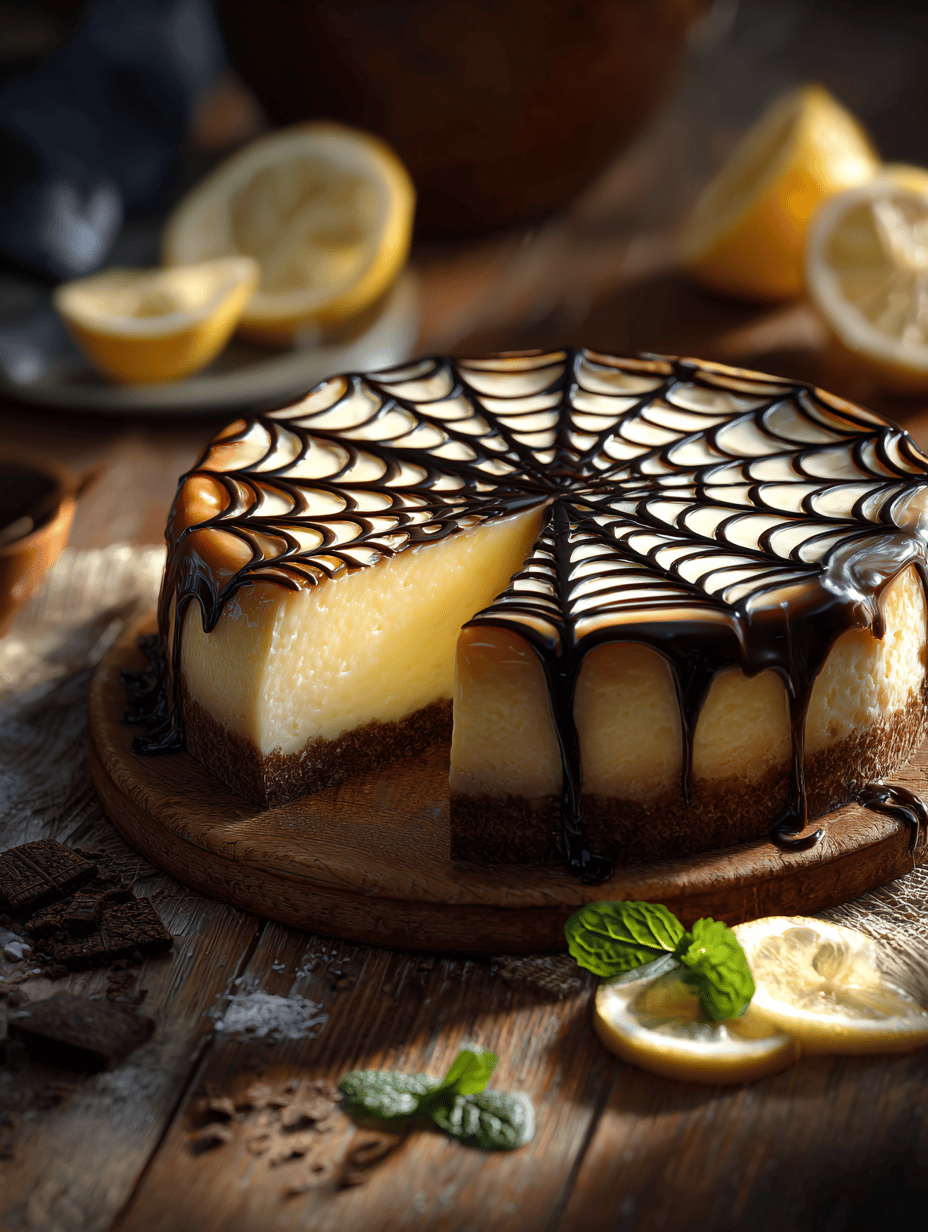
  • Unearth the Magic: Halloween Pumpkin Cheesecake Bars with a Spooky Twist

    Unearth the Magic: Halloween Pumpkin Cheesecake Bars with a Spooky Twist

    Every October, the air thickens with spice and anticipation. This year, I wanted to push beyond the typical jack-o’-lanterns and ghostly decorations to create a treat that captures the essence of Halloween—mystery, nostalgia, and a dash of the unexpected.

    Enter these Pumpkin Cheesecake Bars, a layered delight with a whisper of cinnamon and a swirl of pumpkin that mirrors the season’s moody vibes. They’re not just desserts; they’re conversation starters, perfect for any haunted gathering or cozy night in. Plus, they pack a festive punch with minimal fuss, making them as handy as your favorite costume.

    As I prepared these bars, I realized they’re a subtle nod to childhood memories decorated with a modern, gourmet twist. The smooth, rich cheesecake contrasts beautifully with the spiced crust, creating an irresistible combo. This recipe is my homage to fall’s fleeting, fading hues—sweet, spicy, and oh-so-smart.

    Pumpkin Cheesecake Bars

    Pumpkin Cheesecake Bars are layered desserts featuring a spiced graham cracker crust topped with a creamy pumpkin-flavored cheesecake filling. The bars have a smooth, rich texture with a subtly spiced and autumnal appearance, perfect for fall gatherings or holiday celebrations.
    Prep Time 20 minutes
    Cook Time 45 minutes
    Total Time 1 minute
    Servings: 12
    Course: Main Course
    Cuisine: American
    Calories: 350

    Ingredients
      

    • 1 1/2 cups graham cracker crumbs for crust
    • 1/4 cup granulated sugar for crust
    • 1/2 cup unsalted butter melted for crust
    • 16 oz cream cheese softened
    • 1 cup granulated sugar for filling
    • 1/2 cup sour cream for filling
    • 1/4 cup all-purpose flour for filling
    • 1 tsp cinnamon for filling
    • 1 tsp vanilla extract for filling
    • 3/4 cup canned pumpkin pure pumpkin
    • 2 large eggs beaten

    Equipment

    • 16×8 inch baking pan
    • Mixing bowls

    Method
     

    1. Combine graham cracker crumbs and sugar in a mixing bowl, then pour in melted butter and mix until the crumbs are evenly coated and hold together when pressed.
    2. Press the crumb mixture firmly into the bottom of the prepared baking pan to form an even crust layer. Bake at 350°F (175°C) for 10 minutes to set the crust, then remove and let it cool slightly.
    3. In a large mixing bowl, beat the softened cream cheese until smooth and creamy, with no lumps remaining. This helps create a silky cheesecake layer.
    4. Add sugar to the cream cheese and blend well until the mixture is light and fluffy, with a slight increase in volume.
    5. Stir in sour cream, vanilla extract, and cinnamon, blending until combined and fragrant with a warm aroma.
    6. In a separate small bowl, whisk the pumpkin and eggs together until smooth and slightly foamy. Then fold this mixture gently into the cream cheese batter to incorporate the pumpkin flavor evenly.
    7. Pour the pumpkin cheesecake filling over the cooled crust, spreading evenly with a spatula to fill all corners of the pan.
    8. Bake at 350°F (175°C) for 35-45 minutes, until the center is just set but still slightly jiggly when gently shaken.
    9. Remove from oven and let the bars cool completely in the pan on a wire rack, then refrigerate for at least 2 hours or until chilled and firm.
    10. Use a sharp knife to cut into squares, revealing the layered crust and creamy pumpkin filling with a swirl of cinnamon on top, ready to serve.

    Notes

    For best results, refrigerate the bars overnight to let flavors meld and texture set fully.

    These Halloween Pumpkin Cheesecake Bars are a fantastic way to celebrate the season’s flavors without fussing over single-serving desserts. Their layered texture and rich aroma make them the centerpiece of any table or party spread. I love how they evoke both comfort and excitement in every bite.

    As the leaves crunch beneath your feet and evenings grow cooler, these bars bring a cozy, spooky charm that’s perfect right now. They remind us that simple pleasures—like a good dessert—can turn a quiet night into a memorable one. Embrace the season, with all its flavors and little scares, and enjoy every bite of these festive treats.

  • Unconventional Apple Cake: A Cozy Twist for Your Fall Table

    Unconventional Apple Cake: A Cozy Twist for Your Fall Table

    Imagine a cake that captures the essence of autumn but with a surprising twist: infused with hints of lavender and a caramel glaze that crackles just right. This apple cake doesn’t just celebrate fall flavors; it elevates them, blending sweet, tart, and floral notes into every bite. It’s perfect for those crisp weekend mornings when you want something comfortingly sophisticated.

    What makes this recipe stand out is its focus on balancing textures—moist crumb, tender fruit, and a glossy, slightly sticky topping. It’s a dessert that feels like a warm hug but adds a touch of elegance to your afternoon tea. Plus, it’s adaptable, perfect for using up different apple varieties you might have on hand.

    Autumn Apple Cake with Lavender and Caramel Glaze

    This apple cake features a moist crumb dotted with tender, sliced apples, infused with subtle hints of lavender. It is finished with a glossy caramel glaze that crackles slightly upon biting, creating a layered combination of textures and flavors. The final appearance is a rustic, golden-brown cake with a shiny caramel topping and delicate floral notes.
    Prep Time 20 minutes
    Cook Time 45 minutes
    Total Time 1 hour 5 minutes
    Servings: 8
    Course: Main Course
    Cuisine: American
    Calories: 420

    Ingredients
      

    • 2 cups all-purpose flour
    • 1 1/2 cups granulated sugar
    • 1/2 cup unsalted butter softened
    • 3 large eggs
    • 1 cup milk
    • 2 teaspoons vanilla extract
    • 1 teaspoon lavender buds dried and ground
    • 3 medium apples peeled, cored, sliced thinly
    • 1 cup brown sugar for caramel
    • 1/2 cup heavy cream
    • 2 tablespoons unsalted butter for caramel

    Equipment

    • Mixing bowls
    • Hand or stand mixer
    • Rubber spatula
    • Cake pan
    • Saucepan
    • Whisk
    • Cooling rack

    Method
     

    1. Preheat your oven to 350°F (175°C). Grease a cake pan and set aside.
    2. In a mixing bowl, combine the softened butter and granulated sugar. Beat with a mixer until light and fluffy, about 2-3 minutes.
    3. Add eggs one at a time, mixing well after each addition. Stir in vanilla extract and ground lavender buds.
    4. In a separate bowl, whisk together the flour and a pinch of salt. Gradually add the dry ingredients to the wet mixture, alternating with milk, starting and ending with the flour mixture. Mix until just combined.
    5. Gently fold in the sliced apples, distributing them evenly throughout the batter.
    6. Pour the batter into the prepared cake pan, smoothing the top with a spatula. Bake for 40-45 minutes, or until a toothpick inserted in the center comes out clean.
    7. While the cake bakes, prepare the caramel glaze. Combine brown sugar, heavy cream, and butter in a saucepan over medium heat. Bring to a gentle boil, stirring constantly, until thickened slightly and caramel-colored, about 5 minutes.
    8. Once the cake is done, remove from oven and let cool on a rack for 15 minutes. Drizzle the warm caramel evenly over the cake’s surface, allowing it to set and crack slightly as it cools.
    9. Transfer the cake to a serving plate once fully cooled and the caramel glaze has set. Slice and enjoy the moist, fragrant apple cake with its crunchy caramel top.
    This apple cake is more than just a treat; it’s a reminder of how simple ingredients can transform into something special. Its fragrant aroma and tender slices make it a perfect centerpiece for any gathering or cozy weekend.

    Enjoy the process of baking this charming cake, knowing each slice will evoke a little burst of comfort. It’s a recipe to keep handy as the seasons change and the apples turn sweet and crisp. A slice or two might become your new Saturday tradition.

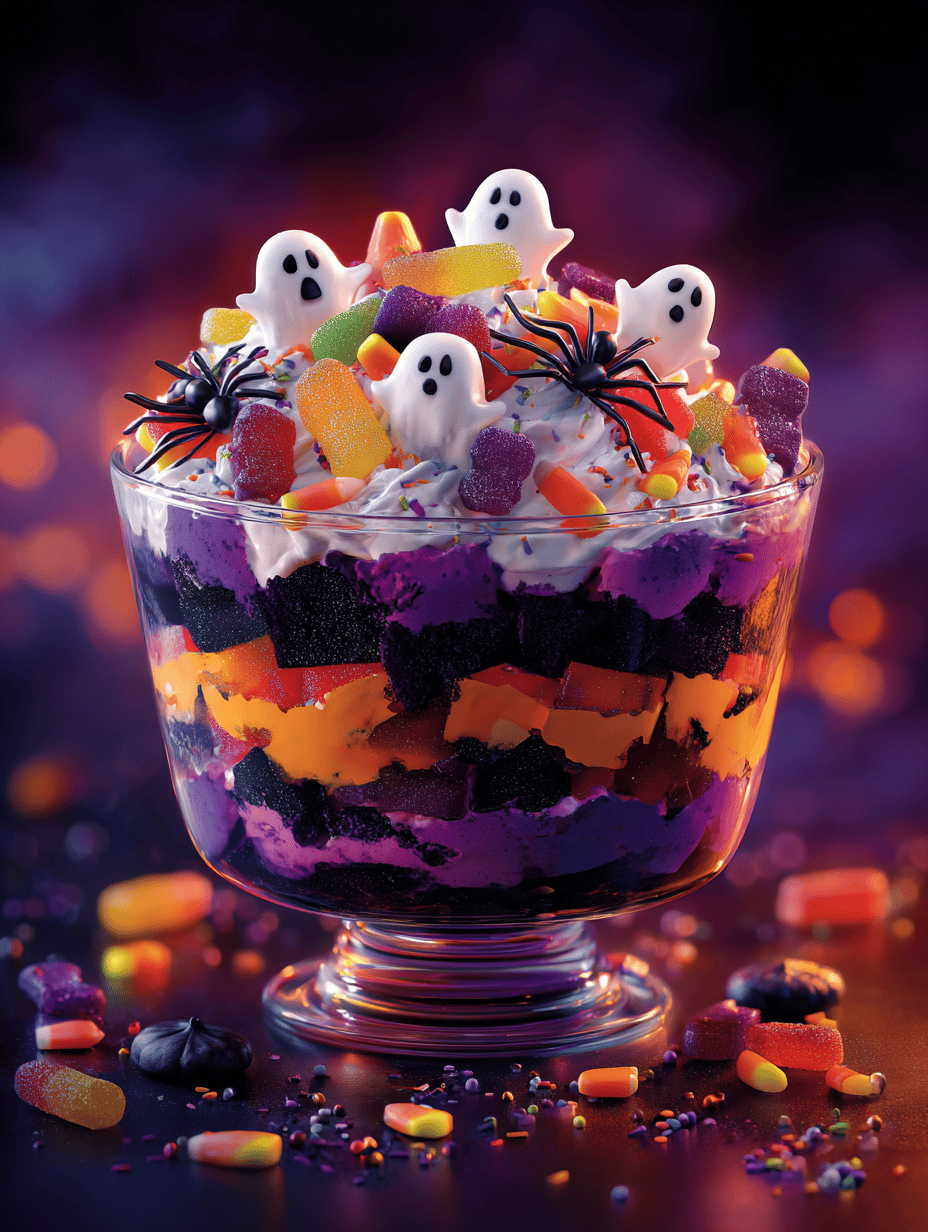
  • Hexed Halloween Candy Corn Parfaits: A Spooky Secret

    Hexed Halloween Candy Corn Parfaits: A Spooky Secret

    As a food historian, I love uncovering forgotten treats and giving them a modern spin. These Halloween Candy Corn Parfaits are inspired by vintage candy store delights that once filled jar upon jar, their colors whispering seasonal cheer. Layered with a ghostly swirl of vanilla pudding and crunchy cookie crumble, they transform nostalgia into edible art.

    This recipe isn’t just about candy; it’s about capturing a moment in history, a whisper of bygone Halloween festivities. The vivid orange, yellow, and white layers mimic the classic candy, but the real magic happens in the textures and scents—sweet, creamy, with a dash of crunch. Perfect for impressing friends or reliving childhood dreams.

    Why settle for plain pumpkins when you can indulge in a little sweet spectacle? These parfaits turn simple ingredients into a memorable Halloween treat, sprinkled with a touch of chaos and a lot of fun.

    Halloween Candy Corn Parfaits

    Candy Corn Parfaits are layered desserts featuring a creamy vanilla pudding swirl with crunchy cookie crumble, arranged to resemble the classic Halloween candy’s tri-color appearance. The dessert combines smooth textures with crisp bits for a festive treat, visually mimicking candy corn’s distinctive colors and look. Final presentation highlights alternating orange, yellow, and white layers in clear glasses, creating a colorful and textured holiday dessert.
    Prep Time 15 minutes
    Cook Time 10 minutes
    Total Time 25 minutes
    Servings: 4
    Course: Main Course
    Cuisine: American
    Calories: 250

    Ingredients
      

    • 1 1/2 cups vanilla pudding prepared and chilled
    • 1/2 cup crushed sugar cookies
    • 1/4 cup orange food coloring
    • 1/4 cup yellow food coloring
    • 1 pinch vanilla extract
    • additional as needed additional vanilla pudding divided for layers

    Equipment

    • Mixing bowls
    • Whisk
    • Measuring cups and spoons
    • Small spatula
    • Clear glasses or jars
    • Cookie crumber or rolling pin

    Method
     

    1. Start by dividing the prepared vanilla pudding into three separate bowls. Add a few drops of orange food coloring to one bowl, yellow food coloring to another, and leave the third bowl white. Whisk each gently until the colors are evenly incorporated and the pudding is smooth.
    2. Pour a layer of the white vanilla pudding into the bottom of each glass or jar, filling about a third of the way up. This forms the first segment of the layered effect.
    3. Carefully spoon the orange-colored pudding over the white layer, aiming to create a distinct, even band about a third of the glass height. Gently tap the glass on the counter to level the layer if needed.
    4. Next, add a layer of yellow pudding on top of the orange, filling the glass another third. Keep the layers neat for a visual candy corn effect.
    5. Sprinkle a generous layer of crushed sugar cookies over the top of the yellow pudding to add a crunchy texture and resemble the candy’s crisp exterior.
    6. Repeat the layering process: starting with white pudding, then orange, then yellow, until each glass is filled and visually resembles the candy corn’s color blocks.
    7. Finish with a final sprinkle of cookie crumbs on top for a crunchy finish and decorative appeal.
    8. Place the parfaits in the fridge for at least 15 minutes to set slightly and allow flavors to meld. Serve chilled for a festive Halloween treat.
    In the end, Halloween is about playfulness and surprises. These candy corn parfaits combine those moments into one sweet, layered experience that’s fun to make and even more fun to eat.

    Whether you’re hosting a spooky gathering or just craving a nostalgic moment, these parfaits bring joy and a dash of chaos. Each spoonful offers a crispy crunch and a silky smooth surprise, making them a perfect seasonal treat to share with loved ones or keep as a goofy indulgence.