Making peanut butter cups at home isn’t just about sweetness, it’s about controlling that perfect balance of texture and flavor. I’ve always loved how the smooth, salty peanut butter contrast with the glossy, bittersweet chocolate. It’s a small, satisfying act—turning simple ingredients into something that feels indulgent, yet familiar. This […]
Desserts
Peanut Butter & Jelly Smoothie Bowl Recipe
Sometimes, breakfast feels like a fleeting moment of childhood joy, especially when you turn a simple combo into a bowl of dreams. This peanut butter & jelly smoothie bowl is my way of merging that nostalgic sizzle with a fresh, healthful twist. It’s not just about the taste, but the […]
No-bake Peanut Butter Bars Recipe
Sometimes, I think the best recipes are the ones that come together without fuss—like these no-bake peanut butter bars. They’re a little messy, a little sweet, and totally forgiving, which makes them perfect for a chaotic afternoon or an unexpected guest. Plus, they smell like childhood—peanut butter, honey, and warm […]

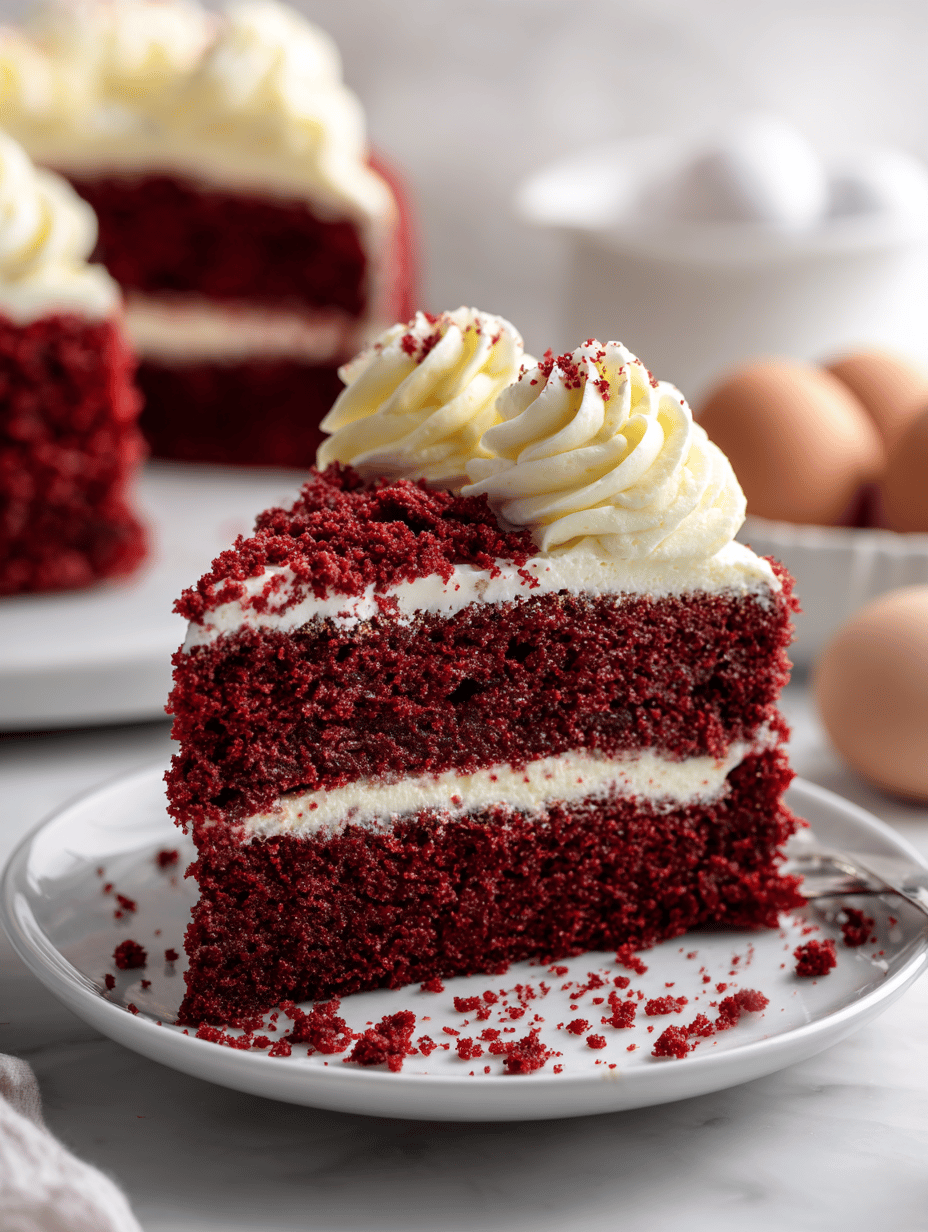
Bloody Red Velvet Cake: A Dark, Rich Spin on a Classic
Red velvet cake often feels like a nostalgic throwback, but I love to twist it into something darker and more dramatic. The deep crimson hue isn’t just for show; it’s a canvas for bold flavors and a touch of mystery. Baking this cake is about embracing the chaos of mixing […]