Red velvet cake often feels like a nostalgic throwback, but I love to twist it into something darker and more dramatic. The deep crimson hue isn’t just for show; it’s a canvas for bold flavors and a touch of mystery. Baking this cake is about embracing the chaos of mixing rich cocoa, tangy buttermilk, and a splash of vinegar — a combination that somehow makes everything more alive.
Why This Cake Never Gets Old
Every time I bake this, it’s like revisiting a secret recipe I’ve refined over years. The rich, velvety crumb, paired with a tangy cream cheese frosting, always takes me back to childhood celebrations and quiet moments of self-indulgence. It’s a cake that’s as much about the process as it is about the final bite, with the deep red hue reminding me of passion and a little bit of chaos.
Inside the Red Velvet Realm
- All-purpose flour: The backbone of the cake, providing structure; I like to sift it for a light crumb.
- Unsweetened cocoa powder: Adds depth and that signature chocolate hint—go for natural, not Dutch-processed.
- Buttermilk: Gives moisture and tang, balancing the sweetness—swap with sour milk if needed.
- Vinegar: Activates baking soda with a zing of acidity—don’t skip this.
- Vegetable oil: Keeps the cake moist and tender—can substitute with melted coconut oil for extra flavor.
- Red food coloring: The showstopper—use gel for vibrant color without watering down the batter.
- Eggs: Bind the batter and aerate—large, fresh eggs work best.
Tools of the Crimson Trade
- Mixing bowls: To combine wet and dry ingredients separately.
- Electric mixer or whisk: To beat the eggs and blend the batter smoothly.
- Cake pan (20cm round): Shape your cake evenly.
- Parchment paper: Prevent sticking and easy removal.
- Cooling rack: Cool the cake evenly and prevent sogginess.
Step-by-Step to a Deep Crimson Delight
Step 1: Preheat your oven to 180°C (350°F). Grease a 20cm (8-inch) round cake pan and line the bottom with parchment.
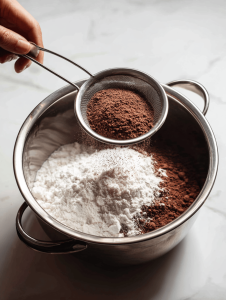
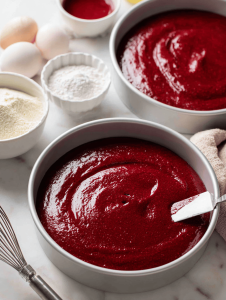
Step 2: In a large bowl, sift together 250g all-purpose flour, 30g unsweetened cocoa powder, 1 tsp baking soda, and ½ tsp salt.
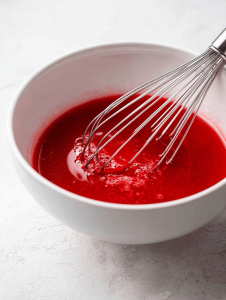
Step 3: In another bowl, whisk 2 large eggs, 250ml buttermilk, 100ml vegetable oil, 1 tbsp white vinegar, and 2 tsp vanilla extract until well combined.
Step 4: Gradually add the wet ingredients to the dry, mixing just until the batter is smooth and velvety, no lumps.
Cooking Cues & Common Pitfalls
- The batter should be glossy and smooth, not thick or lumpy.
- The cake’s edges should just start to pull away from the pan when baked.
- When poked gently, the center should bounce back, not stay wet or sink.
- Use a toothpick or cake tester; it should come out clean when the cake is done.
Troubleshooting the Crimson Path
- Cake rises then collapses.? If the cake sinks in the middle, check oven temperature—may be too hot. Lower slightly and bake longer.
- Over-torched edges.? If the edges burn, reduce oven heat or cover edges with foil halfway through baking.
- Lumpy or dense texture.? For uneven crumb, mix batter just until combined—don’t overmix.
- Frosting sliding or melting.? If frosting slides off, chill the cake for 30 minutes before frosting.
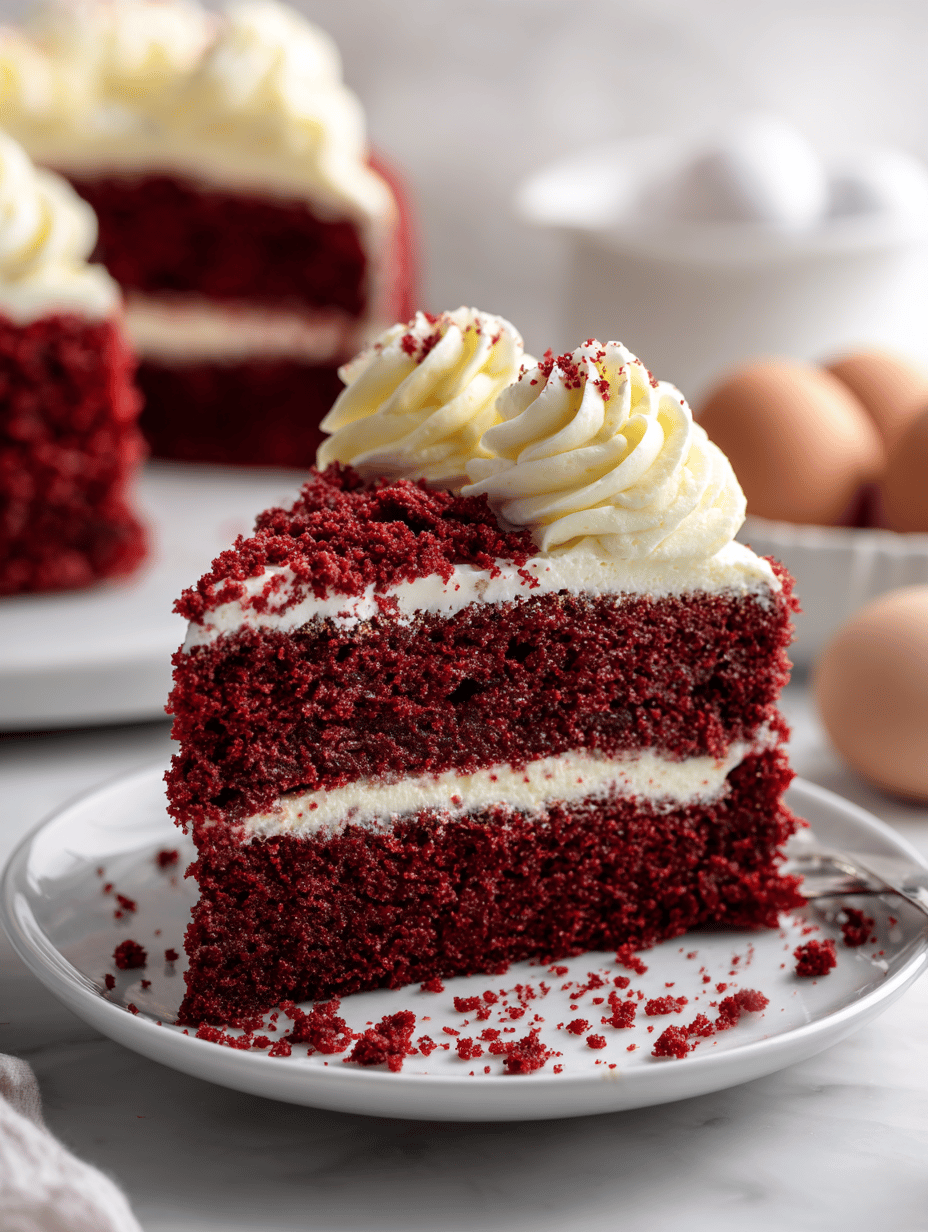
Dark Red Velvet Cake
Ingredients
Equipment
Method
- Preheat your oven to 180°C (350°F). Grease your 20cm round cake pan and line the bottom with parchment paper to prevent sticking.

- Sift together the flour, cocoa powder, baking soda, and salt in a large mixing bowl until evenly combined. This ensures a light, airy crumb.
- In a separate bowl, whisk the eggs, buttermilk, vegetable oil, vinegar, and vanilla extract until the mixture is smooth and fragrant, about 1-2 minutes.

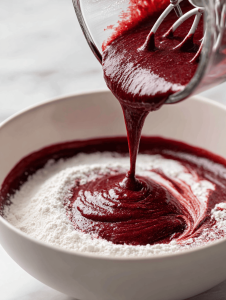
- Gradually pour the wet mixture into the dry ingredients, folding gently with a spatula or beating with an electric mixer on low speed. Mix until the batter is glossy, smooth, and free of lumps, about 2-3 minutes.
- Add the red food coloring to the batter and mix until the color is evenly distributed, resulting in a deep crimson hue.
- Pour the batter into your prepared cake pan, spreading evenly with a spatula for a flat, level surface.
- Bake in the preheated oven for about 30 minutes, or until the top is set and a toothpick inserted in the center comes out clean. Your kitchen will fill with a rich cocoa aroma.
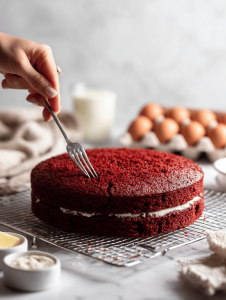
- Remove the cake from the oven and let it cool in the pan for 10 minutes, then transfer to a cooling rack to cool completely. The cake should feel moist and tender to the touch.
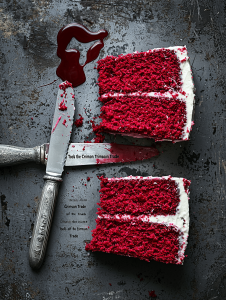
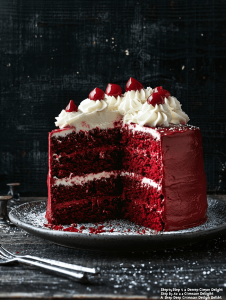
- Once cooled, carefully slice the cake horizontally if layering, or serve as is. Frost with tangy cream cheese frosting for the perfect finishing touch.
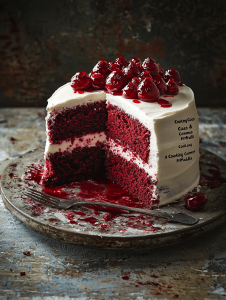
- Enjoy your vibrant, velvety dark red velvet cake, perfect for celebrations or a decadent treat.

Hi, I’m Harper Evans. Welcome to Crushing These Flavors, my home on the internet where curiosity, comfort, and a deep love for food come together. I’m a passionate food blogger who believes great meals are built through attention, practice, and a willingness to experiment.